
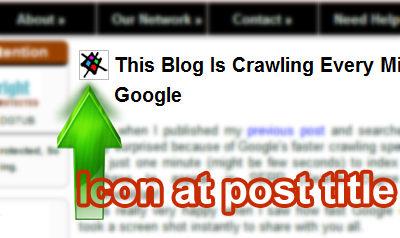
Hello buddy! Today we will learn a simple but beautiful trick. This trick is really easy to apply in blogger. We are going to learn how to add your own image, avatar or icon before your post titles. This will present your blog more professional. We also add our brand logo as our post title avatar.
To understand more deeply, see this screenshot.
Now lets know its steps...
1. Log in to Blogger blog
2. Click your blog title
3. Now click Template from left side menu
4. Backup your full template before editing
5. Click Edit HTML, Click Proceed
6. Search for .post h3 or .post h2 by pressing Ctrl+F
7. You will watch some CSS code something looks like…
8. Now select whole code and replace with below code…
9. Finally click Save Template and you are done.
Customization area
■ Replace yellow text with your icon/ image/ avatar picture.
■ Make sure your image size is 30px X 30px.
■ It will be good to see if you use your image with white background and 1px gray border.
You may also like these tutorials:
Customizing Blogger's official label widget.
Addthis Sharing button for Blogger blog.
That’s all. If you still have any problem just let me know. Have a good day!
To understand more deeply, see this screenshot.
Now lets know its steps...
1. Log in to Blogger blog
2. Click your blog title
3. Now click Template from left side menu
4. Backup your full template before editing
5. Click Edit HTML, Click Proceed
6. Search for .post h3 or .post h2 by pressing Ctrl+F
7. You will watch some CSS code something looks like…
.post h3 {
 font-size: XXpx;
 font-family: Arial, sans-serif;
 font-weight: normal;
 color: #XXXXXX;
 margin: Xpx;
 padding: Xpx Xpx Xpx Xpx;
 }
8. Now select whole code and replace with below code…
.post h3 {
 background: url(YOUR IMAGE LINK GOES HERE) no-repeat top left;
 padding: 0px 5px 0 40px;
 line-height: 1.5em;
 font-size:20px;
 margin:10px 0;
 font-weight:bold;
 }
9. Finally click Save Template and you are done.
Customization area
■ Replace yellow text with your icon/ image/ avatar picture.
■ Make sure your image size is 30px X 30px.
■ It will be good to see if you use your image with white background and 1px gray border.
You may also like these tutorials:
Customizing Blogger's official label widget.
Addthis Sharing button for Blogger blog.
That’s all. If you still have any problem just let me know. Have a good day!
Post a Comment
Please DON'T spam here. Spam comments will be deleted just after our review.